

วิธีการเปลี่ยน Path Directory Owncloud to New Volumes
สำหรับผู้ใช้บริการที่ต้องการย้ายที่เก็บข้อมูลไปเก็บไว้ที่ Path หรือ Disk อื่น ๆ บน gate.openlandscape.cloud สามารถใช้ วิธีการเปลี่ยน Path Directory Owncloud ได้โดยดำเนินตามขั้นตอนดังต่อไปนี้
วิธีการเปลี่ยน Path Directory Owncloud to New Volumes
1. ทำการเพิ่มพื้นที่ INSTANCES ด้วยการ MOUNT VOLUMES บน LINUX
1.1) สร้าง Volume และ Attach ไปที่ Instances ที่ต้องการให้เรียบร้อย

1.2) กลับไปที่เครื่อง Linux ดังตัวอย่างนี้จะใช้ Ubuntu 18.04.3 LTS โดย *Instances ที่สร้างขึ้นห้าม Apt Update เพราะจะทำให้ Mysql ของ Owncloud หายไปด้วย และห้ามแก้ไข Config file Conf.php ของ Owncloud โดยเด็ดขาด
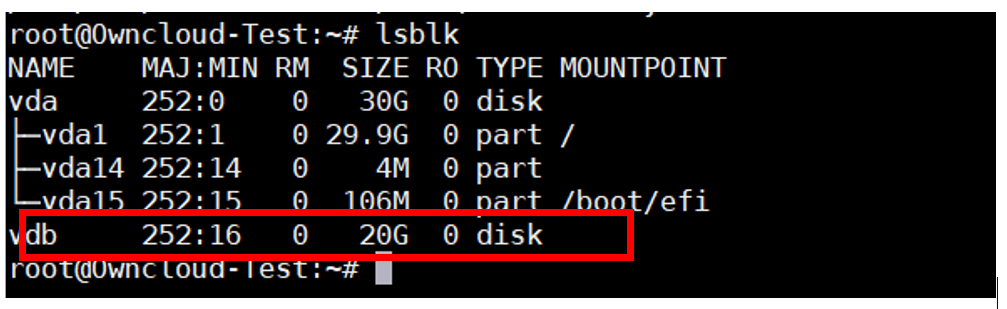
ใช้คำสั่ง : lsblk เพื่อตรวจสอบ Volumes
Output : เมื่อดำเนินตามขั้นตอนในรูปเรียบร้อยแล้ว จะได้ Volumes ที่ยังไม่ถูกนำไปใช้ ชื่อ vdb ขนาดไฟล์ 20GB ดังรูป
1.3) สร้าง Path Directory เพื่อใช้สำหรับการ Mount Volumes โดย *แนะนำให้สร้าง Path ใหม่ เนื่องจาก User Owncloud ไม่สามารถทำงานบน Root ได้
ใช้คำสั่ง : mkdir /mnt/volumB/
1.4) แบ่ง Partitions ใหม่ให้กับ Volumes
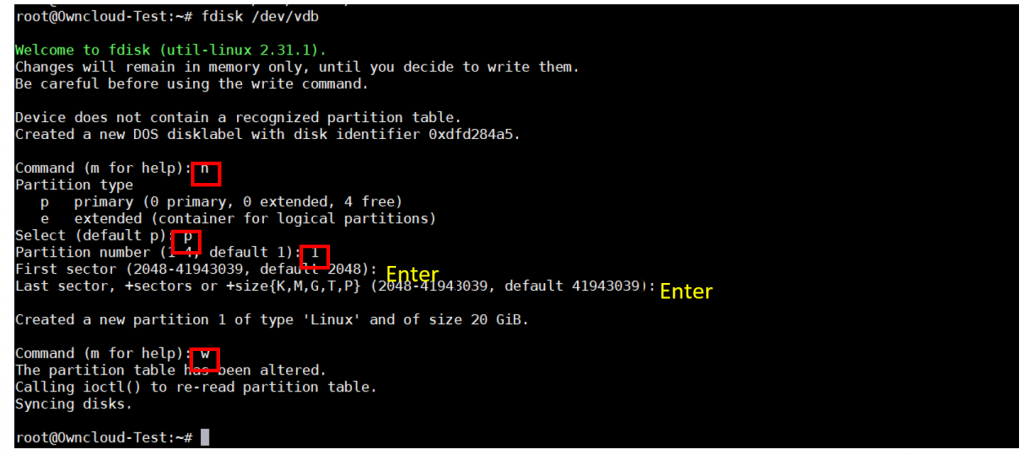
ใช้คำสั่ง : fdisk /dev/vdb
Output : ให้กด n, p, 1, Enter, Enter และ W เพื่อสั่งให้เขียน Disk ดังรูป
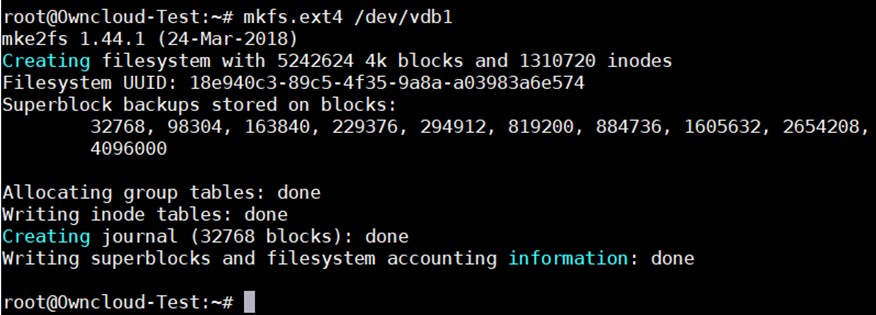
1.5) สร้าง Filesystems ของ /dev/vdb1
ใช้คำสั่ง : mkfs.ext4 /dev/vdb1
Output : ทำการ Mount ไปยัง Path Directory ที่เราได้สร้างไว้ตามข้อ 1.3)
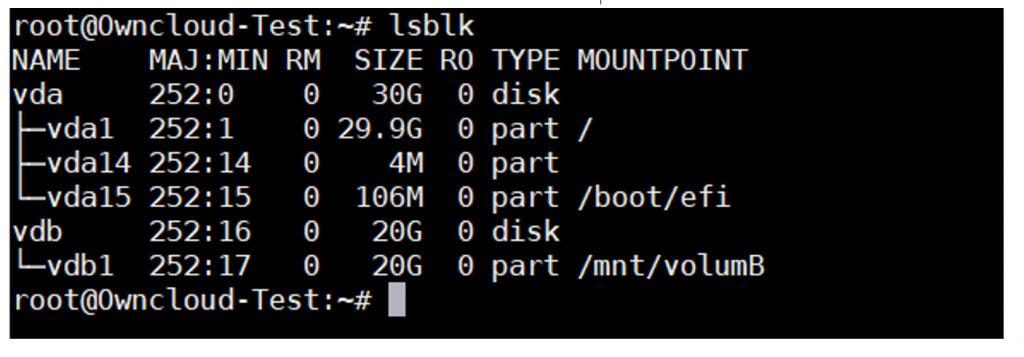
ใช้คำสั่ง : mount -t ext4 /dev/vdb1 /mnt/volumB/
ตรวจสอบการ Mount ด้วยคำสั่ง : lsblk
Output : หน้าจอแสดง Disk vdb1 อยู่ที่ path /mnt/volumB/
2. การเปลี่ยน Directory Owncloud มาเก็บใน /mnt/volumB ที่ทำการ Mount กับ Volumes
2.1) ใช้คำสั่ง : sudo service apache2 stop
2.2) ใช้คำสั่ง : sudo rsync -av /var/www/owncloud/data/ /mnt/volumeB/
2.3) ใช้คำสั่ง : mv /var/www/owncloud/data /var/www/owncloud/data.bak
และทำการ Backup Database เดิมของ Owncloud โดยใช้คำสั่งข้อ 2.4)
2.4) ใช้คำสั่ง : ln -s /mnt/volumeB /var/www/owncloud/data
และ Link Path Directory File ของ Owncloud เข้ามาที่ Volumes ที่สร้างขึ้นโดยใช้คำสั่งข้อ 2.5)
2.5) ใช้คำสั่ง : sudo service apache2 start
เมื่อใช้คำสั่งข้อ 2.5) เรียบร้อยแล้วสามารถเปิดการใช้งาน apache2 เพื่อเก็บข้อมูลของ Owncloud ไว้บน Volumes ได้ โดยรายละเอียด Password ต่าง ๆ ของ Owncloud สามารถดูได้โดยใช้คำสั่งด้านล่างนี้
โดยใช้คำสั่ง : cat .mysql_password เพื่อดู User / Password ที่เกี่ยวข้องกับ Owncloud
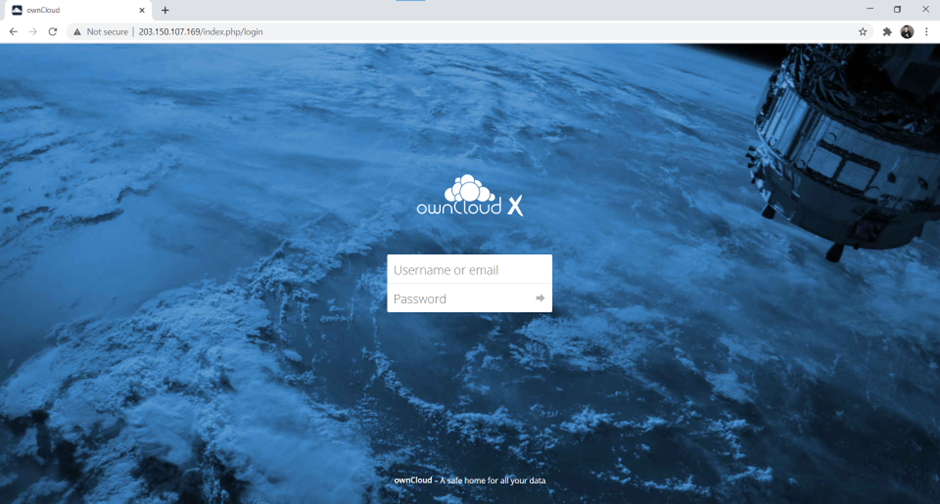
ผู้ใช้บริการสามารถเข้าหน้า Dashboard Owncloud >> http://Your_IP_instances
Username : admin
Password : อยู่ในไฟล์ .mysql_password
ข้อมูลอ้างอิง
ผู้เขียนบทความ Mr. Suppachai Sripanna

จบการศึกษาจากคณะมนุษยศาสตร์ มหาวิทยาลัยศรีนครินทรวิโรฒ